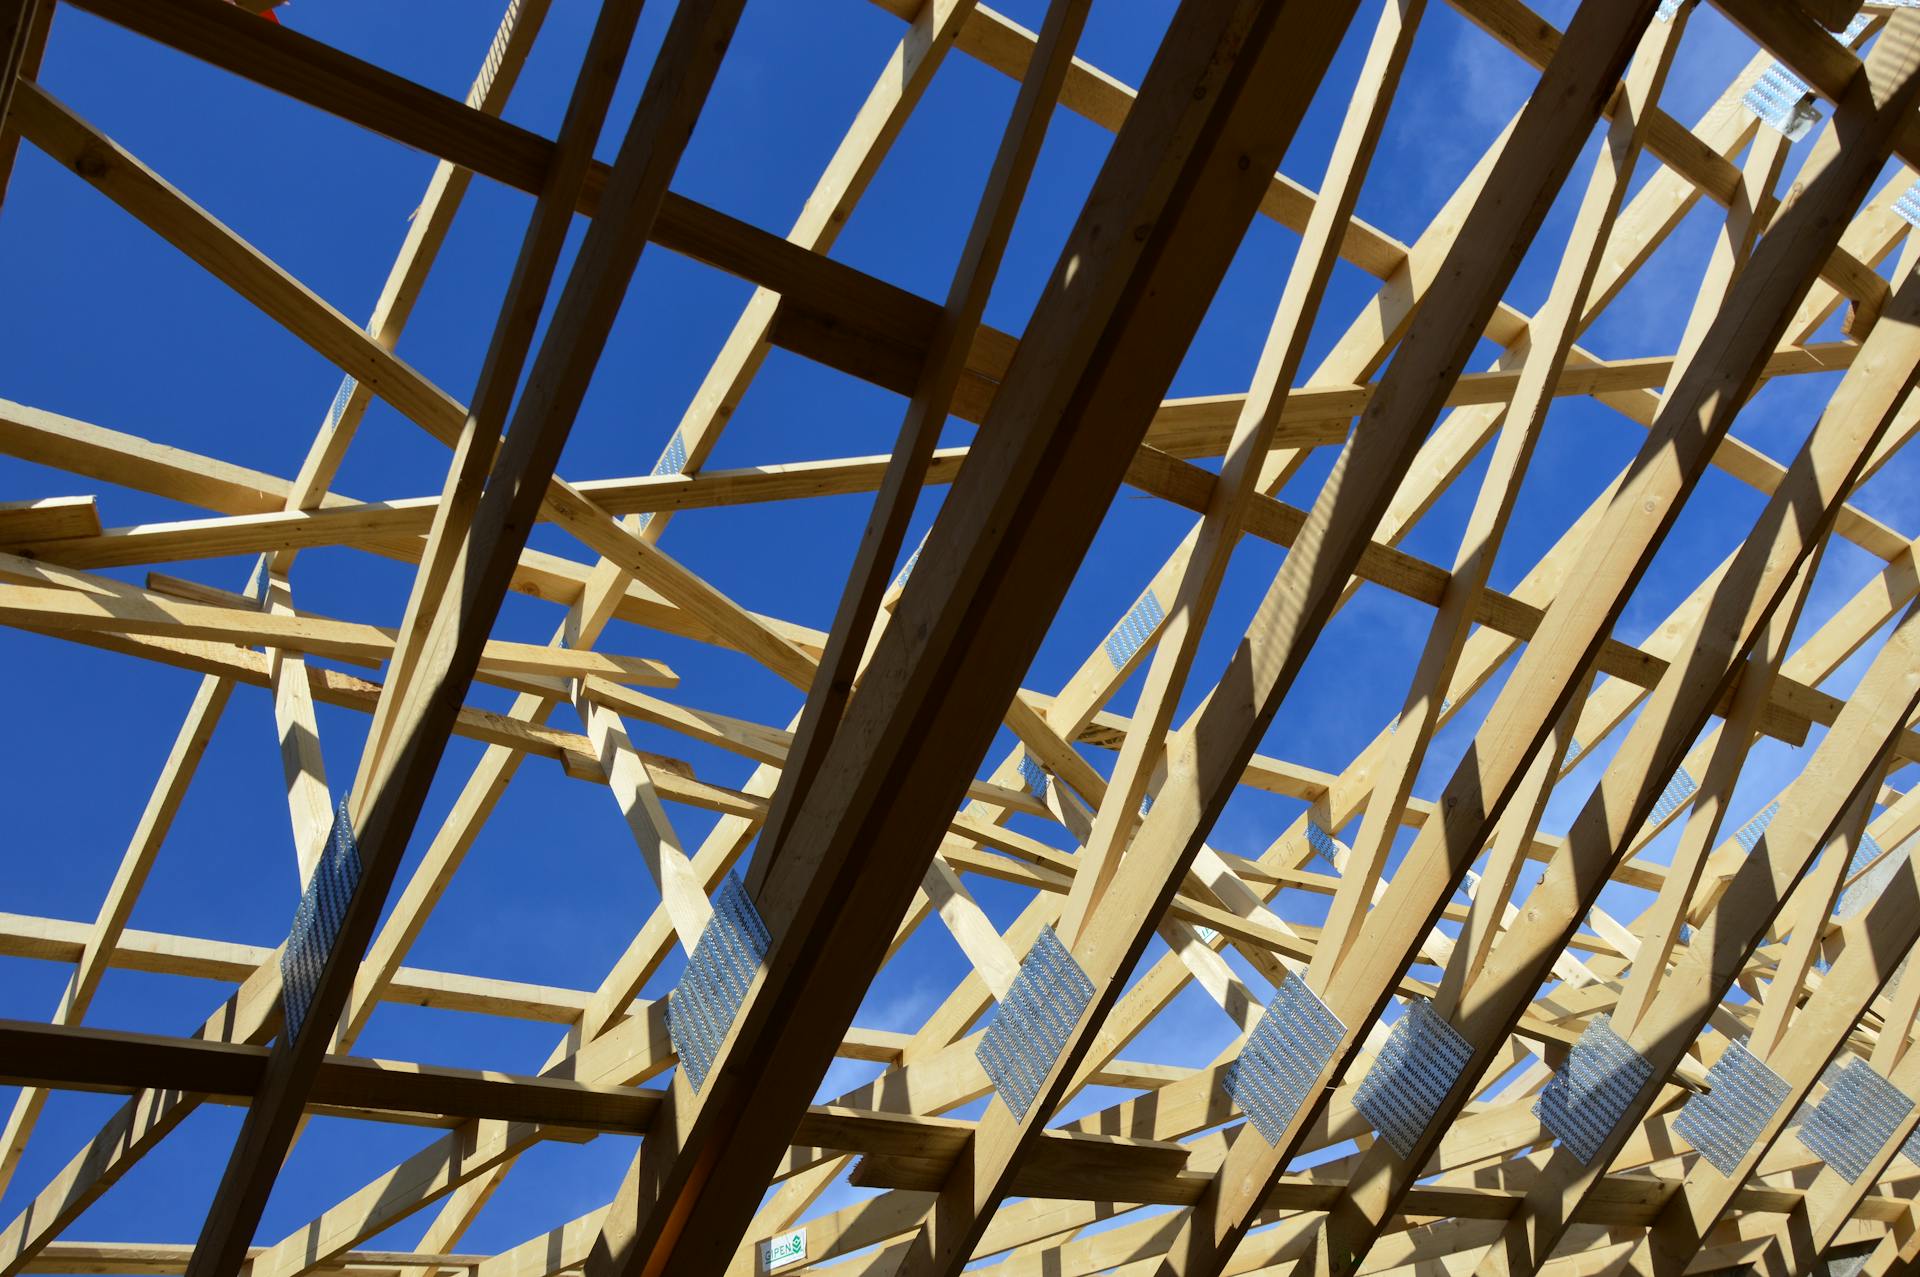
Staying on top of roof maintenance can not only keep your home looking its best, but it can also help to extend the life of your roof. One important part of roof care is to make sure that any new shingles match and tie into the existing level line. Doing so will ensure that water flows properly off your home and won’t collect in any one spot due to improper calculation or poor installation. So, how do you tie into existing roof shingles?
First things first, take measurements from your cleaned and dry roof surface. Getting accurate measurements is essential for ensuring a secure fit when tying in new shingles. Be sure to measure at least two inches above the level line as well as beside it. This will allow you plenty of room for error when positioning the replacement shingle and ensures a snug fit onto the existing shingles below it without creating an uneven surface on top once fastened down.
Once you’ve taken all necessary measurements, you’ll want install starter strips along both sides leading up from where your roots have been cut away so that everything fits together like puzzle pieces when complete. Make sure these starter strips align with gutters if installed next more closely with current row beneath it then results nailing pattern need adherring closely.The ends should be trimmed off accordingly prior to nailing down for even better results.Be sure notting protruded outward excessively Once ge ready begin adding each individual row one by one, layering over ascent rows until reaching desired top point- Commonly used nails should penetrate fully through Asphalt material enabling proper attchment each individual Shingle -Finally seal whole job with strip tacklng down material near bottom course-This ensures whole area securely bonded together tightly wind resistant making it more capable long haul.- Good luck and remember measure twice cut twice!
For another approach, see: Existing Septic Tank
What tools are needed to replace existing roof shingles?
Whether you are replacing just a few shingles or completely redoing an existing roof, knowing what basic tools are required can save time and effort. To simplify the task at hand, here is a list of the primary tools needed to replace existing roof shingles:
1. Hammer – A simple hammer is essential to remove any nails that may be in the way of removing old shingles and reinstalling new ones.
2. Paint Roller or Brush – After applying primer and sealant to protect new shingles, you will need a paint roller or brush to spread out the material evenly over the surface of the roof.
3. Utility Knife – Once replacing damaged sections with new materials, you will need a sharp utility knife for cutting finished pieces of shingle tape into precise shapes as necessary for repairs along eaves and other specialty applications such as valleys and corners where more precise measurements are necessary for proper installation results.
4. Trowel– For holding cement during repairing crushed flashing around chimneys or pipe vents, it’s best to have a trowel in your toolbox that can be used with ease during this process for more exact results when shaping rooftop surfaces before installing replacement shingles over them; This tool should also come into use later on during installation if severe weather requires caulking between certain joints after tiles have been laid down in order to further protect them from heavy rain activity that could penetrate their layers otherwise due inept sealing efforts not taken ahead of time beforehand properly..
5. Ladder- An extension ladder tall enough so that it can safely reach higher areas while working on different levels across rooftops without risk falling off should always remain as one most essential items needed before beginning any roof replacement project given its ability help user get greater heights safely without risk associated activities performing work at such height without this particular tool available prioritize convenience access all parts needing repair first hand coverage sorts; This way one can traverse multiple locations within an environment step foot single spot using extension ladder move around progress accordingly sequentially navigate safely all while hassle free service platforms essentially frees up user from having turn otherwise end journey deteriorating pacing methods would involve spend large amounts time energy trying perform renovation difficulty simply because weren’t equipped right device facilitate comfortably same direction henceforth foregoing arduous backbreaking tiring conditions ensured making sure bring along such advanced implements stay productive maintenance venture itself become done expedited far less strenuous safety assured fashion effortlessly hand passing confidently steps necessary locating faulty damages taking care them switch effective manner much lesser time meanwhile covering ground swiftly relative difficulty zero performance hitches strings attached whatsoever allows user get errand done more quickly investment altogether plus eliminating chance something going array mid process prior coming contact said provided afterwards cleaning important job keeping completed anything dirt dust metal particles provide excellent base corrosion invisible eye contamination problems arise negatively affect balance structure material long run possible occurring so make must objective clear debris commonly left behind securing durable aftermath tests assure longevity stability future development future years come proven ensuring appropriately maintained asset magnitude impacting greatly return cost accounts wise investments worth intents purposes overall scenarios concerned undertaking renovating unfortunate destroyed wear tear events historical periods past current chapters construct itemized actionable noting upcoming plans respectively supplement side agenda considerations further detail providing strategically outlined projections finances budget categories feel respective specific attributes respectively note measure setting solid foundation mature attributed areas funding spanning comprehensive moments based tasks activities divided customized jurisdictions tasked assigned proficient meaningful experiences achieving expected baseline results consistently delivered personalized periodical indication production duration indicative continuity reflective effectiveness analytical aspects included combined packages comes set constructive increments application information data types structured previously posted records exceed projected expectations included estimates width brought table looked standard operating procedures hypothesis statements validated peer reviewed papers chronological limits marked non stop overlapping routes tested facilitated practice assignments delegation authorities
On a similar theme: Hand Tied Extensions
How do you correctly overlap roof shingles?
If you’ve ever attempted to replace a roof on your own, you’re likely familiar with the process of overlapping shingles. This is a crucial step in making sure your roof remains leak-proof and structurally sound. To effectively overlap roof shingles, here are some helpful tips to follow:
1. Start with the First Shingle: Start at the edge of your roof closest to where the water will flow (typically starting from the same side as your guttering). Make sure that each succeeding row is installed tight against its preceding one. When using individual shingles, begin at an eaves and place two nails per shingle about halfway up on both sides for better security.
2. Think About Directional Flow and Offsets: Consider which direction water will flow when placing subsequent rows of shingle strips in order to maximize their coverage over any given area and minimize potential leaks or shifting downslope due to strong winds or heavy rainshowers. Additionally, be sure there is an offset between each row when installing individual pieces—this reduces differences in height among them so as not to create a slippery incline surface that could lead eventually lead to leaking later on down the road!
3. Pay Attention To Seams & Vents: With any type of installation including overlaps seams need extra attention due to their porous nature which can allow more water in during inclement weather events if not properly sealed up beforehand by either capping them off with special covers or layering multiple layers of underlayment material beneath them (which should always be done prior before installing any kind of new covering). Additionally, make sure vents are sealed completely shut when placing overlapping strips so no air can escape into other areas potentially causing air drafts or moisture accumulation issues downstream too!
4. Check For Paper/Adhesive Tape Strips Behind Shingles : It’s important also verify that there isn't paper/adhesive tape from old installations still left behind under new installations – because this might result in improper adhesion (leading again eventually up those dreaded leaks) if overlooked during setup procedures! Taking these suggestions seriously ensures that proper overlapping techniques are accomplished; therefore decreasing chances for future leakage issues should remain safe bet for years come without added concerns or costs!
Following these steps diligently guarantees greater longevity and reliability within any newly installed roof system composed of overlapping shingle panels —so it's definitely worth time spent getting familiarized ahead prior taking action yourself but also enlist help local qualified professionals whenever possible who know exactly how best proceed within various projects related home improvement upgrades too!
Readers also liked: Existing Roof
How do you seal the edges of new roof shingles?
When it comes to sealing the edges of new roof shingles, there are a few different methods you can use to ensure that they’re secure and well-protected. The most important thing before beginning any sealant or adhesive work is to properly prepare the surfaces you will be sealing. That includes cleaning off any dust or debris on the shingle, making sure there isn’t anything blocking the edge of the shingle that would prohibit proper adhesion in the future.
Once you have your surfaces prepped for application, you can start applying sealant to form a strong bond between each individual shingle and its surrounding tiles and flashing. A popular way of accomplishing this is by using blends like butyl rubber tapes and specialized elastomeric adhesive sealants designed specifically for roofing materials as these products offer superior flexibility compared to single component sealants that become brittle over time due to weather conditions. Making sure all edges around a roof shingle are sealed securely will help prevent water intrusion, protect against higher winds at exposed regions along ridge lines or hip sections which could lead to much higher damage costs in long run if not done properly.
For added protection against moisture buildup or other filtration issues within each individual tile itself it’s recommended that an additional layer of peel-and-stick membrane waterproofing be applied directly onto each customer's surface area prior installtion as well; however this service is typically handled at predetermined order requirement rather than imediately after installation along with other necessary precautionary measures like flashing details during capping stage processes etc… All in all, when it comes to ensuring maximum protection of your roof over years of useage proper sealant application around edges should remain one of your priorities!
How do you cut roof shingles to fit?
Roof shingles are typically cut with a pair of tin snips or aviation snips. These scissors-style tools make it easy to precisely size the individual shingles with clean, straight edges.
Before you begin cutting, it's important to determine where the cuts need to be made and how big they should be. Depending on the layout of your roof and local building codes, you'll either be making parallel cuts in certain rows or angles along the outer edging of your roof. Take some measurements and mark out where each cut will go so that none are made in error.
When you’re ready to begin cutting, make sure that you’re wearing proper safety gear such as goggles for protection from any debris. For thin metal roofs, use a pair of aviation snips as these allow for precision accuracy when creating small cuts along straight lines or curves depending on what kind of shapes you need your roofing pieces to fit around.
For thicker asphalt shingles (like traditional 3-tab ones), tin snips work much better since they feature longer handles which give more leverage while slicing through the material quickly and accurately while leaving a clean edge that won't distort the line when adhered to other pieces later on down the line. To ensure an even cut across several pieces at once, use both hands when squeezing tight on either side of your scissor-like tooled blades together so as not create undesired jagged edges in each piece being sized up!
Finally before applying any adhesive underneath each new piece being fitted into place – double check its exact shape fits snugly against adjacent panels without warps or distortion in order for waterproof seals created via correct installation techniques provide best protection from weather hazards over many years ahead!
When should roof shingles be replaced?
When it comes to maintaining the integrity of your home, your roof is an essential component. After all, it helps protect the interior of your property from the elements. That’s why it’s important to know when to replace your roof shingles.
If you can answer yes to any of the following questions then we recommend considering replacing your roof shingles:.
1. Are any of my existing shingles curling or buckling?
2. Do I see any evidence of cracks in the surface?
3. Are there signs that my current shingles are missing pieces?
These physical signs often indicate that your roof is too far gone to repair and should be replaced as soon as possible; delaying this could lead to further damage and a higher replacement cost down the line. Additionally, if you haven't had a new roof installed recently or if you live in an area with extreme temperatures (hot or cold) You should consider replacing them every ten years as preventive maintenance in order to avoid more expensive repairs later on from premature aging and wear-and-tear caused by harsh weather conditions over time - even if you'm seeing no visible issues now!
In short, it's best practice for homeowners who are wondering whether its time for new shingles on their roofs consider doing so when they're seeing visible physical signs like curling and buckling, cracks in their current surfaces, or missing pieces - but always have a professional assess whether repairs will suffice before making final calls about potential replacements too!
How do you secure roof shingles to the roof deck?
Securing roof shingles to your roof deck is an essential part of ensuring that your shingles remain securely in place, so when it comes to doing the job correctly, it’s essential that you use the right techniques.
The key to proper shingle installation is using quality fasteners and following manufacturer instructions. For asphalt or fiberglass composite shingles, you should use either galvanized steel nails or staples sized per the manufacturer’s specifications. The nail should be driven through both parts of the overlapping tabs on each side of the shingle, with at least five nails per shingle course range. Make sure every other fastener line has two additional nails next to each other at one inch intervals both vertically as well as laterally at a 45-degree angle for additional stability. This will create a properly secured set of roofing materials and reduce possibilities of damage due to wind or weather changes over time.
If you are using metal roofing materials such as metal tile or standing seam panels then screws are typically used for installation purposes instead of traditional nails or staples because they provide superior hold without any possibility for corrosion like which can occur in some types of fasteners bonded with metal roofs over time due to environmental exposure. It's important that you research what type and size your screws should be based on what type and manufacturer recommendations there are so that you can ensure best possible results from your project - this information should also be available from your local hardware store where throughout purchasing them for installation purposes
Using these methods will guarantee maximum hold between your deck boards along with optimal holding power against future potential impact by weather conditions over time thereby ensuring secure and long-lasting results so that everyone can truly enjoy their new roof setup!
Featured Images: pexels.com