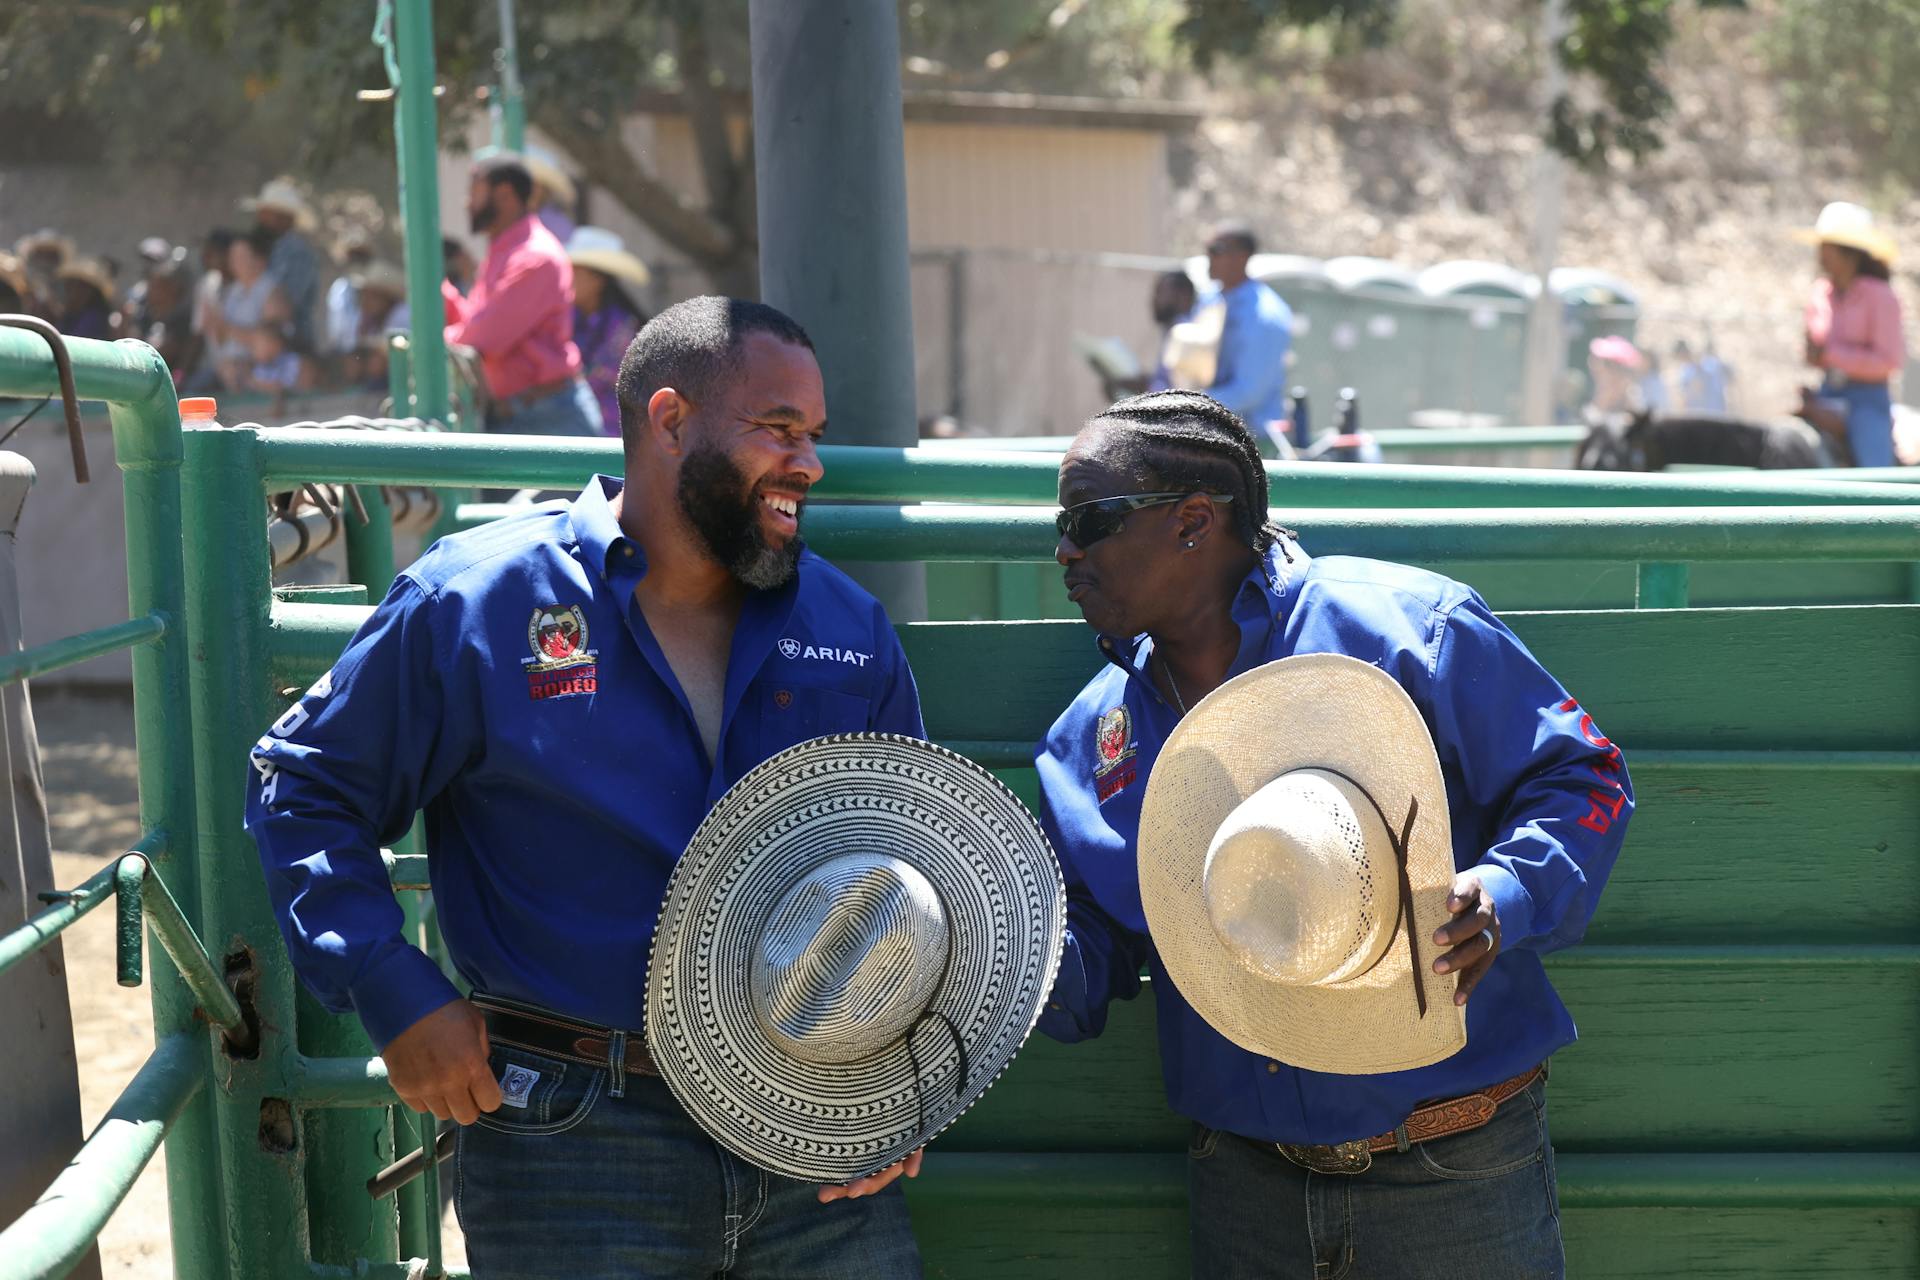
Sewing a patch onto a hat can be a daunting task, but it doesn't have to be! With the right supplies, some careful handiwork, and following these steps; you'll be able to have your favorite hat upgraded with that snazzy patch in no time.
1. Gather Your Supplies - The first thing you'll need to do is gather all the supplies for the project. You'll need a piece of fabric for the patch, matching thread (it's always best to match the thread color as closely as possible), embroidery scissors or small sharp scissors suitable for sewing (small scissors will make it easier to reach tight spots/corners), and a needle suitable for thick pieces of fabric. All these supplies can typically be found at any craft store or even places such as Walmart or Target that carry fabric/sewing items.
2. Preparing The Patch – Next step is preparing your patch or badge with which you want adorn your hat with before beginning any stitching work on the hat itself. Iron-on patches are great since they don’t require too much additional stitching — just iron under medium heat between two pieces of cotton cloth so that they melt together nicely into one unit after cooling down—but if using sew-on patches just make sure that there aren’t loose edges where threads may come off resulting in fraying etc., and trim until everything has been cleaned up and looks neat!
3 Create Placement Template - If desired — this step isn't absolutely necessary — but if exact repetition of placement on multiple hats is required then creating an overlay template from printer paper makes it easier achieve desired results more precisely by lightly adhering it onto surface prior to stitching: trace out design on paper layer provided with sturdy adhesive tape such pin etc., then lightly stick onto emplacement area without stretching either side outwards(this way both sides stay symmetrical). This acts as guide while pulling needle through tight spots while preparing stitch sequence around finished badge itself
4 Start Stitching - Now we're ready for actual stitching begins! Thread needle loosely through doubled strand of thread so that tips meet each other near metal head part; draw towards knotting end & pull tightly few times inside edge areas ensuring everything firmly stays in place during transportation changes in future life span use cases ;) Making sure keep ends inward & only exit points once passed 4-6 stitches sequence respectively (two each side over–under repeat). Starting off first few crossings at lower seam line underneath secured badge will help keep things orderly later when entire job gets done too ;P This method ensures maximum surface contact resistance upon getting caught outdoor conditions like sunbathing on beach sunset festivities hanging chillaxed backyard BBQs gazing stars evening hikes skiing weekend getaways day trips mountain climbing activities etc., ---experience pleasure guaranteed!! ;DDD Repeat same set pattern drawing Xó patterns also known Aida cross stich markings every 6th row upwards direction until reaching top edge corner close cap finishing everything reenter base lines once more similar starting manner before finally tie knot along backside securing all stitches together Hope everyone gets most enjoyment using this tutorial writeup Have fun ;))) Happy Patch Artistry fiends ttyl Speak soon =PPP
With these steps, you should now have your favorite hat looking snazzier than ever sporting its awesome new patch! Wear it proudly everywhere you go knowing that no one else has a unique item quite like yours made all by yourself -- Enjoy!
What materials are needed to sew a patch on a hat?
The great thing about sewing patches on hats is that it's a relatively easy project, and you don't necessarily need a ton of materials to get the job done. Depending on how skilled you are with sewing, the supplies you will need can vary slightly.
In most cases, here are 5 materials that are generally needed for patching a hat:.
1) A patch - This should be obvious. You'll need to determine what type of patch you want to use; some common types include felt, vinyl or fabric patches. All of these come in various sizes and colors so there are plenty of options available!
2) An embroidery needle - A sharp embroidery needle is important when stitching an applique onto a fabric item (a hat in this case). Be sure the needle has an appropriate size eye for your chosen thread type... not too large or small.
3) Thread - Like the needle size, pick thread based on what your patch is made out of (vinyl vs felt etc.) Ultimately it could be any approved type; such as cotton, nylon etc., but make sure it matches both thread color/pattern as well as material thickness and texture/weight ratio between both layers of material if needed (such as a double-sided patch).
4) Sewing scissors – You’ll want a pair of sharp scissors handy for trimming off extra string or cutting threads where needed when sewing the patch onto the cap nicely.
5) Hot glue gun + extra glue sticks – The hot glue gun may seem like an odd choice here but trust us; having one handy can really make things easier! Not only can you hide away excess strings but also secure down tips & points easily without worrying about topstitching over them every few minutes + glueing also creates another layer between two pieces which prevents slipping & unwanted movement while still maintaining flexibility with stitching.
With these five basic items at hand, hopefully now you have all that's needed to put together one awesome looking cap with its very own custom patches stitched right in! Thanks for reading our blog post today!
Consider reading: Measure Hat Size
How do I attach a patch to a hat without sewing?
If you don't have access to a sewing machine often times you can get clever and fix something without ever having to pick up a needle and thread. If you're looking for an alternative way to attach a patch to a hat without having to sew, it can be done with the help of some sticky materials!
First things first, lay out the patch flat on the table and make sure its straight. Place your hat in front of the patch so that you know exactly where it needs to be placed when attaching it on. Usually some craft stores will sell patches that come pre-glued on one side, if that's what you are using then skip this step. To adhere your patch firmly onto your hat without sewing, use fabric glue or strong adhesives such as hot glue, super glue or even Velcro adhesive strips. Although super glue is recommended for heavier fabrics such as denim and leather, for hats we recommend sticking with either Fabric Glue or hot glue since they are designed specifically for use with fabrics like cotton canvas.
To apply Fabric Glue (or any other adhesive) start by squeezing a dab of the adhesive onto one side of the backside of your patch and spread evenly around it until all sides are covered nicely in an even layer of glue. Once thats done press firmly onto one side at a time making sure there aren’t any air bubbles trapped underneath–these will pop if pressed too hard so take care not to do so lest ruin your masterpiece! Let dry over night before wearing/washing etc., rinse well afterwards just in case! Or alternatively use either industrial strength Velcro friction discs which can be easily removed later when needed but ensure both pieces behind bumped together really well because they have special design hooks that grip each other firmly–these should provide just enough grip material/strength needed so no need for any adhering product actually-that's why its perfect solution here! Now go show off your DIY skills :)
How do I determine the best placement for a patch on a hat?
When it comes to designing a custom hat, the placement of a patch is key to achieving an attractive, stylish finished product. To determine the best placement for a patch on your hat, there are several factors that should be taken into consideration.
First and foremost, you’ll want to decide where on the hat you want your design or logo to appear. For example, if the patch is for promotional purposes and it’s important that everyone notices it easily, then it may be suitable near the front or center of your hat. On the other hand, if your patch has an aesthetic purpose and will act as more of an embellishment on your cap design (such as branding embroidery for retail hats), then consider placing it in one corner or off-center in order to draw attention more subtly.
Next thing to consider when determining exact placement is how big you want the patch itself: bigger patches need larger areas than smaller ones do! With this in mind, measure out the size needed beforehand so nothing gets off balance halfway through sewing in place.
Beyond these practical considerations there are other aesthetic details that can give your Hat Patch a unique display option such as adding text which might require specific placements elsewhere along with alterations such as distressing of fabric used around edging plus appropriate backing materials which will keep them well-attached but not constricted too much! Finally don't forget chose colors wisely -- contrasting against existing tones will catch attention quickly so choose wisely here! Overall with all these tips taken into account hopefully now everyone will have no problem picking out good placements for their custom Hat Patches next time they use them for fun projects around their home or store fronts outside bringing some extra life into boring spots!
Related reading: How to Sew a Patch onto a Hat?
What type of thread should I use to sew a patch to a hat?
Having the right type of thread is essential when sewing a patch to a hat. If you use the wrong kind of thread, it may eventually start to fray, break, and come undone. The best kind of thread to use when sewing a patch onto a hat is an extra strong polyester thread. This type of thread offers versatility and durability, allowing it to be used on any fabric or material without worry about fraying or breaking over time.
Polyester threads can usually be found in craft stores or online retailers at affordable prices. Additionally, this type of thread typically provides high quality results since stitching won’t unravel easily even after multiple washes and wears. In order to ensure that your patch stays secured on your hat for years to come without looking worn down from fading color or frayed stitching, using an extra strong polyester thread is vital for completing the project correctly.
How do I ensure that the patch stays in place on a hat?
If you've recently purchased a new favorite patch for your favorite hat and are worried about its longevity, don't fret! There are plenty of ways to ensure that the patch stays in place, from how you apply it to aftercare techniques. Here are our top tips for ensuring that your patch sticks where it should:
1. Make sure it's in the right spot - If you're sewing on a fabric-based patch rather than using adhesive backing, start by making sure that the proper placement is found first. Place the patch where desired and then use pins or fabric tape (if needed) to firmly secure the edges so they won't slip during stitching.
2. Invest in quality thread -For sewing on a patch, high quality thread is essential since lower-quality threads can sometimes break or tend to be weaker against wear-and-tear over time. As an added bonus, solid colors of thread tend to blend better into fabric as opposed patterns which may stand out too much next to other stitches/patches on your garment/hat.
3. Avoid excessive heat -Using an iron or steaming their garment may help set patches after applying them but take caution; if too hot or left touching too long, most fabrics can potentially become damaged from extreme heat! Better yet leave heating devices off and require patience with setting patches just with careful pressing with cold hands will work just fine too!
4. Use clear fabric adhesive - Using any kind of cloth tape instead of thread will help give tight and secure hold on garments while being flexible enough not pull at surrounding material fibers when stretched over contours like hats have more difficulty handling securely when sewn onto them directly—clear fabric adhesive is especially good for heaver materials like leather & wool caps> Field tested versions of this type often include 3M products such as “Fusion Bond” & “Tuff Tested” series available at local stores cutting out extra shipping wait times & uninfitable international markup prices associated with hobbyist alternatives such ones made overseas ok ETSY!!! (DISCLAIMER : Always read safety precautions before using any adhesives in enclosed areas).
5. Regularly check for normal wear - Fabrics inevitably stretch and stitch threads wear thin over time due strain from daily use—ensure check regularly down periodically for cracks underneath fabrics edges due changes affecting tensions levels around when stitching always helps preserve integrity more longer period days than go by without monitoring once all said done!! Good luck!!
These five tips should ensure that your beloved hat remains looking great complete with its new character addition-- remembering these tips while applying was well as examining afterwards can guarantee even better chances success ;))).
Curious to learn more? Check out: Rip Wear
How do I attach a patch to a curved surface on a hat?
Attaching a patch to a curved surface on a hat can be tricky! But with some creativity and the right supplies, it can be done. The most important supply you'll need is an adhesive that is strong enough to hold the patch in place even when bent - stay away from using traditional glue as it won't easily bond to curve hats.
To get started, start by pressing down on the patch lightly to reinforce its hold on your curved surface. Once done use a safety pin or pin back fastener which will help secure the patch in place and make sure that it won’t slip off easily when you move your hat around. If needed make small holes along the edge of your design so an additional support piece can be added for extra security and durability.
Finally finish off wrapping some adhesive fabric glue around edge of your patch and press firmly onto fabric until dry so its permanently secured. Its also important not to forget that if you’re using thicker patches like embroidered or 3D patches have some extra padding underneath them so they don't feel too cumbersome when placed on head wear. Taking all these steps ensure that everything is securely attached for long lasting application!
Featured Images: pexels.com